Quick
Start on PDFill PDF Editor
PDFill is very easy to use! The interface looks like the
combination of Adobe Reader and Microsoft Word. You can have a new project to
open a new PDF file or resume the saved project to continue your
editing work. The following are the steps on how to use PDFill PDF
Editor.
Step 1: Start PDFill
PDF Editor
- From Your desktop, click the icon
of "PDFill PDF Editor".

You will see a screen like this:

If you use a
tablet PC, click
 for the
PDFill Options on
Tablet PC.
Step 2:
Create
New or Resume PDFill Project
(You must save the project file for later editing)
-
-
To create a new blank PDF file to
insert image, texts, PDF form fields or scan an image, select
Menu
File
> New Project with Blank Page.
-
To resume a saved project, select Menu
File >Open an Existing Project. Or, click
 from Toolbar. Select
a PDFill Project (pfl) file to open. from Toolbar. Select
a PDFill Project (pfl) file to open.
Step 3: Start PDF Editing


Select
 first
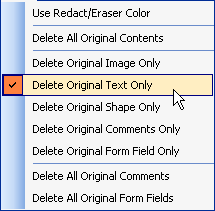
to popup the Redaction/Eraser Menu: first
to popup the Redaction/Eraser Menu:

-
PDF Form Filler: Fill a
PDF Form
Select
 first. Use
left mouse button to click inside the form field to select and edit it.
or, Use
Tab or Shrift+Tab to select fields. first. Use
left mouse button to click inside the form field to select and edit it.
or, Use
Tab or Shrift+Tab to select fields.
-
PDF Filler: Insert new
Text,
Check, Image, Hyperlink, Whiteout or Highlight.

-
PDF Form Maker:
Insert a new PDF form field of Text
Box, Check Box, Radio Button, Combo Box, List Box, Push Button
and Digital Signature.

There are 5 tutorials for PDF
Form Maker:
-
PDF
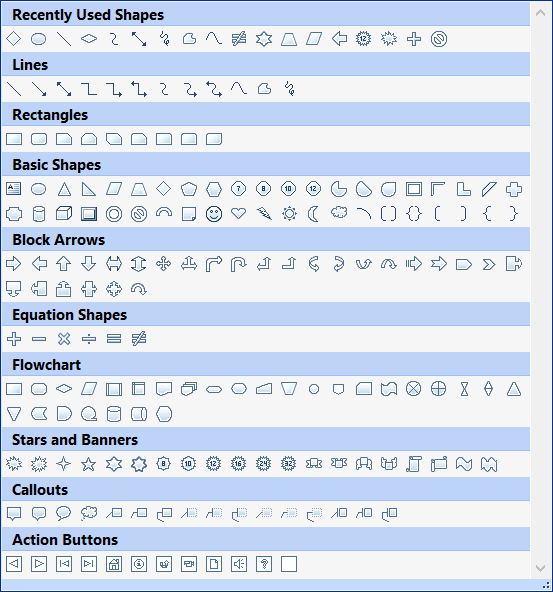
Drawing: Draw
Line, Arrow, Rectangle, Circle,
Arc, Pie, or Curve

-
PDF Comment and Annotation:
Insert Stamp, Text Box, Highlight, Sticky Note, Pop Up,
Attachment, Play Video, Line, Arrow, Rectangle, Oval, Polyline,
Polygon, Cloud, Pencil Drawing, and 3D UCD file.

-
PDF Ink:
Write, draw,
mark or highlight PDF documents with pen input or mouse.

-
PDF Document
Management:
Insert, Replace, Delete, Renumber, Extract, Rotate and Crop PDF
Pages, Deskew, Add Bookmark, Header, Footer, Watermark, Attachment, Action,
JavaScript and Digital Signature.

-
To modify an object, select
 first. Use left mouse button to click
inside field to select and edit it. first. Use left mouse button to click
inside field to select and edit it.
-
To change the properties of the selected object,
Press Key "F4", Menu Format => Current Object's Properties,
or Click
 . .
-
To align objects, please
select the Align Tool
 . .

-
To change the view, Select zoom in/out, Pan from here:

Step 4: Save all
Editing into a new PDF and Project
File
-
To save the edited PDF, select Menu
File
> Save PDF. Or, click
 from Toolbar. Then, select your options
and save all editing into a new PDF file. from Toolbar. Then, select your options
and save all editing into a new PDF file.

- To save this project, select
Menu
File >
Save Project or click
 from Toolbar.
Please save the project often. from Toolbar.
Please save the project often.
You must
save editing into a project file (PFL) so that you can resume
editing later.
|


